
Sooooo… it’s been ages. I keep wanting to write something and then also wanting to spend my spare time as far away from the computer as possible. But I decided to bite the bullet – which also means on 23 Jan 2017 (which is my time zone, but clearly not WordPresses!), I get to wish anyone who is still out there a very happy new year!
This is a whirlwind tour of general stuff to get me back into the habit of posting again. Above is a little motif I made just before Christmas. I had some red thread already on a shuttle waiting to be used up. I didn’t like this thread originally (the pink really is pink) but it’s grown on me at last.

This is a Scandinavian Santa (Ravelry link) that I made before Christmas. Actually, for me personally he’s harder than he looks! I’m not great at intarsia, but I really like him. I made a tiny alteration to the pattern in that I continued the top of his head as an icord and carried it over to make a hook. I like it. I did not like the one I made in red acrylic and ironed though. Especially not after he melted. Ahem.

After Christmas some friends and I went away for New Year. It’s become a tradition to get together, watch films, eat nice food and play board games for a few days. To get away from the world, relax and not worry about the horror that is new years eve and have to work out where on earth we’re supposed to go for the best time EVER. There’s a weird pressure for NYE and this takes it all away.
I think I really needed the break this year. I really relaxed and enjoyed every minute of it. I can’t say I didn’t check work emails, but I left the responses that were longer than a few lines until I got home.

The place we rented was amazing. It had its own private cinema! Above is a picture of the bar and above that the entrance to the cinema. It’s actually open to the public as a not-for-profit cinema at certain times of the year, but when it’s not in use, guests at the house can use it.

And this is a slight panoramic view of the library. It’s actually not original – all put in by the current owners, but it was such a lovely room. A proper mix of old and new books (which looked like they’d been bought to be read, not for show) and a comfy sofa and chairs. I snuck in there late at night for a bit of quiet time on my own and did a little knitting…

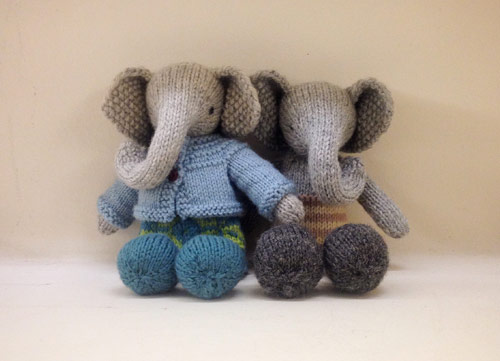
Little being the operative word. I made this jumper (above) as I have one bunny that is still waiting to be clothed. (Ravelry link for the pattern.)

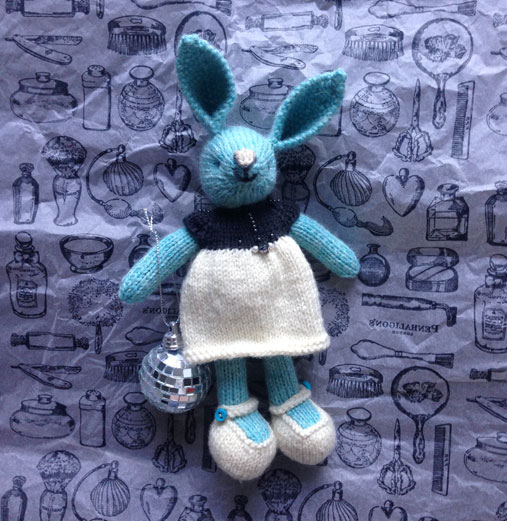
And FINALLY this one has been gifted. I finished her late last year but only got to give her to her rightful owner last week. She’s a wedding gift to an old school friend. She got married last summer, with dyed blue hair, wearing a studded leather jacket and carrying a Lulu Guinness disco ball handbag. Admittedly her handbag was a little more sophisticated than the bunny’s but you can’t have everything. She has a little skull bead on the front go her dress as my friend’s engagement ring has a skull either side. She was very well received and I believe is happy in her new home! (Incase you don’t know the bunny pattern is Little Cotton Rabbits.)

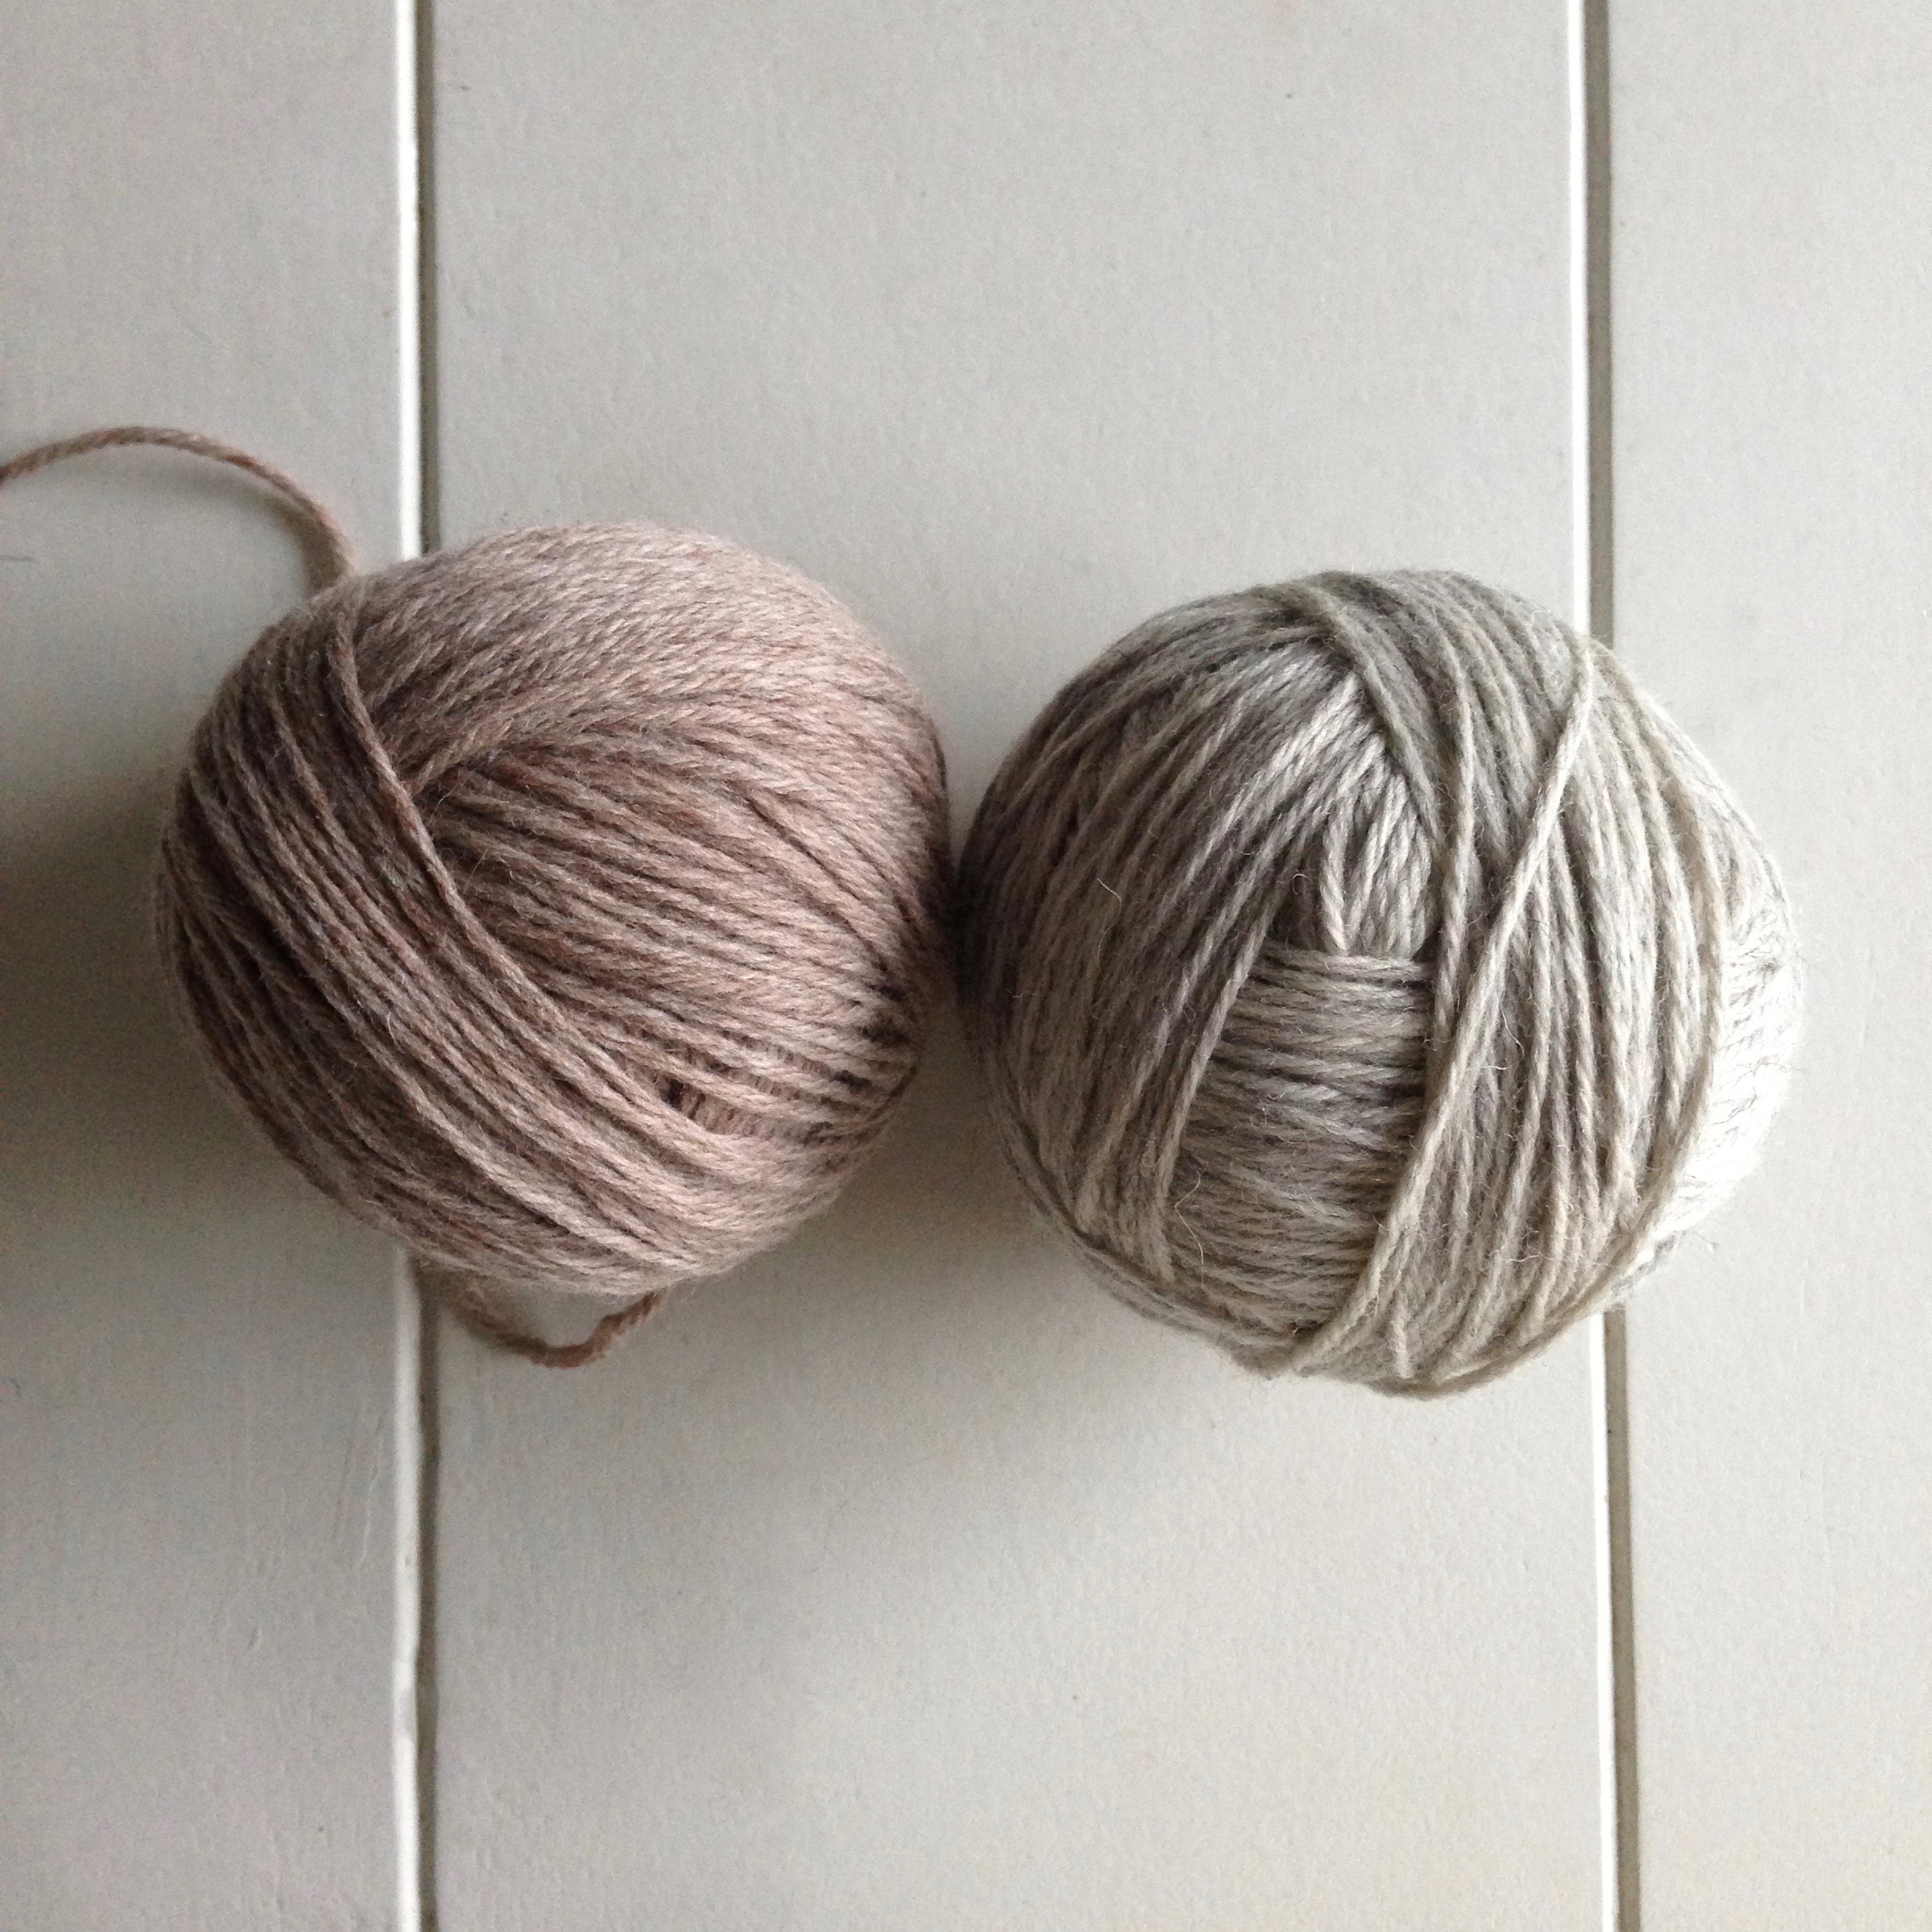
I received Norah Gaughan‘s Knitted Cable Sourcebook for Christmas (it’s really nice). This is my first attempt at a scarf using one of the cable patterns. As it happens, the cable was fine – it’s really not a hard repeat even though it looks a little complicated. I hate the edges though. Also this isn’t wool so I don’t think any sense can be blocked/knocked into it. It’s half frogged as I type. I’ll come up with a better plan for the edges, and do a basic panel either side, I think. Just needs 10 minutes of concentration to come up with a proper plan.

I took this photo over new year, because I really like the colours. It’s one of the first times I’ve had a photo in the back of my mind when deciding what to do with my tatting:

I know – not the same but sometimes you have to work with what you’ve got! The photo inspired me to pick the black beads for the centre, and actually I think they work quite well… even if I do say so myself.
So there we are. All caught up… Ah, except for one thing. Remember my first Little Cotton Rabbit? The one I couldn’t quite part with? He’s finally found a new home. Gone to live with a little girl who needed a bit of friendly company. He’s been named. She’s called him Starlight 🙂
Happy new year. I think we’re all in for a bumpy ride, but we can get through it together, right?


 The given pattern for this dress has a solid colour all the way to the top – so I wasn’t completely sure when I should switch. The capped sleeves are made by wrapping the yarn to create more stitches, something I really wasn’t convinced I would get to work. Despite that, for some reason I decided to change when purling in to these wrapped stitches—and as it happens, it gives a really nice contrasting edge to the sleeves! Amazing. Anyone would think I had some idea what I’m doing (I don’t.)