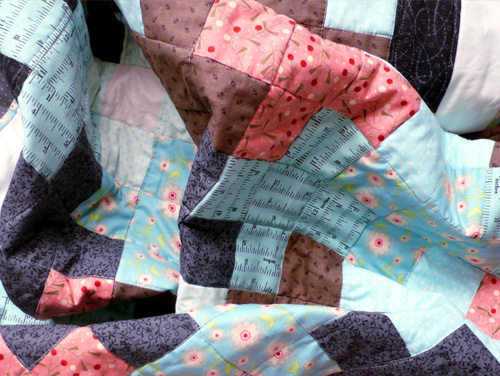
Hello! It’s a wet and windy weekend in the UK, and due to my other half being away for work I’ve had time to get on and make an eye-wateringly cheerful quilt top, in record time. Not only that, but it’s much less wonky (so far) than my previous quilting efforts. I bought this fabric at the Knit and Stitch show in Ally Pally (London). It was a pack of quite tightly-rolled fat quarters – so you couldn’t really see what you were getting – which worked out at £12 a pack or £20 for two. As a lady next to me was contemplating a pack at the same time, I said, “let’s buy them together and we both save £2”, which is what we did.
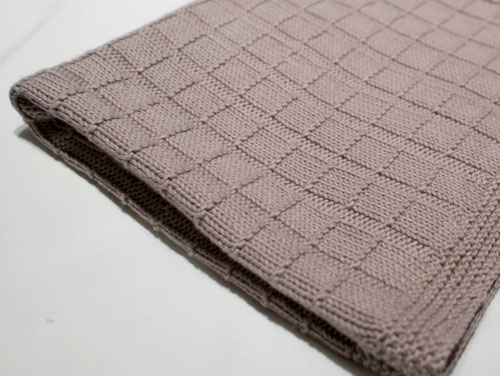
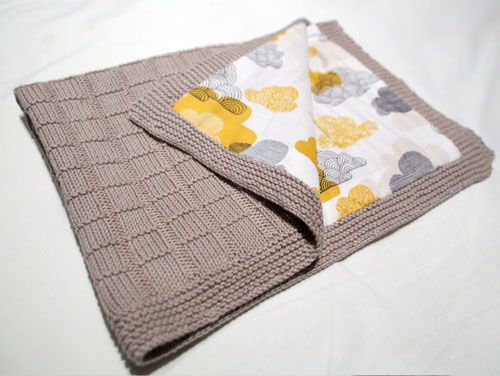
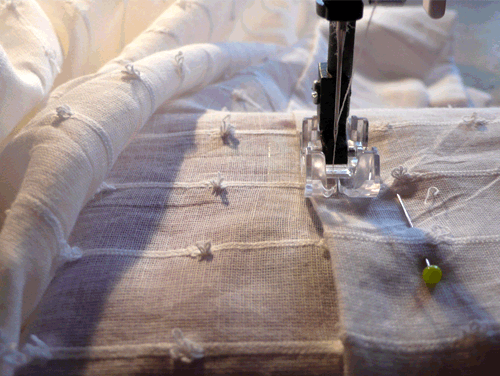
Sorry – terrible lighting, don’t really have anywhere I can photograph a quilt.
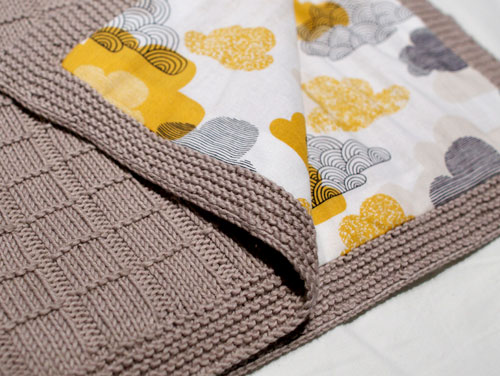
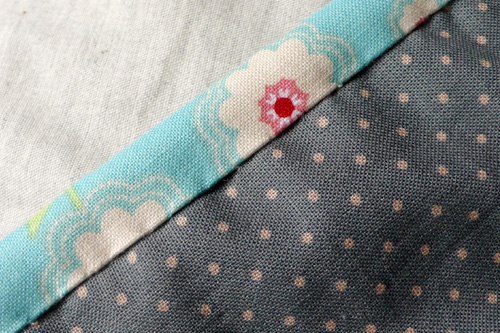
I had to improvise with the pattern a bit; originally I wanted it all to be colour and pattern with no plain solids in there, but I used up all the fabric and it was a bit small so I added the sashing in. The sashing is actually a pale turquoise left over from quilt two, which is quite handy.
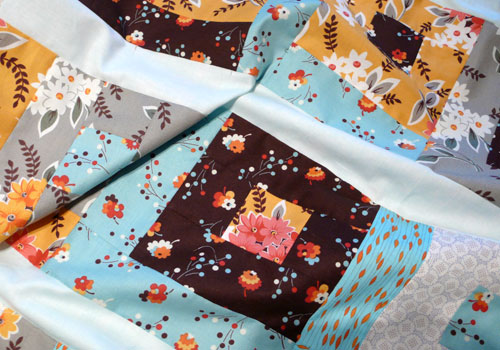
At the edge of one of the pieces it said “Flea Market Fancy”, and I was just in the process of discovering that the collection was based on retro designs, when my boyfriend arrived home, looked at it and said ‘Nice… have we gone back to the seventies?” It *is* a bit seventies, but I still love how bright and cheerful it is. To be honest, they’re not the usual kind of fabrics I’d choose.
Which leads me to the William Morris quilt, which I started here. Believe it or not, I’ve actually finished the top of that too, just not had time to take the pictures. Next I need an expensive trip to the quilting shop, to buy batting and backing fabric.
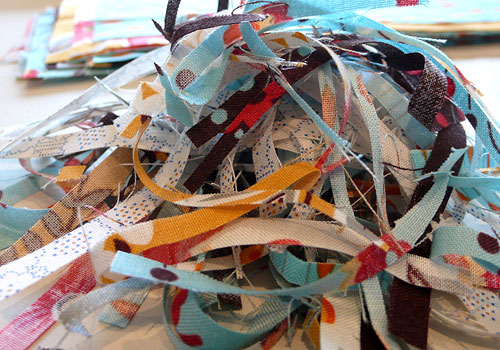
Actually, looking at the light on these photos, it doesn’t do it any favours. I promise you it’s nicer in real life! This was a pile at the start of Saturday. It was a lot bigger by the end. For once, as I was making squares, I measured them up and trimmed them down properly.

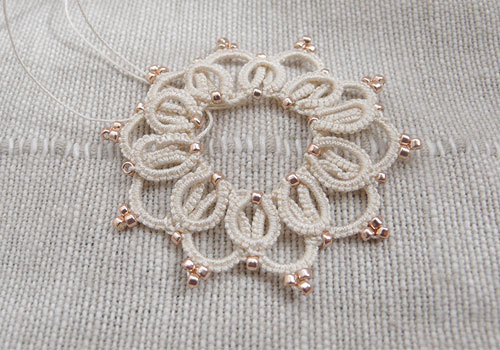
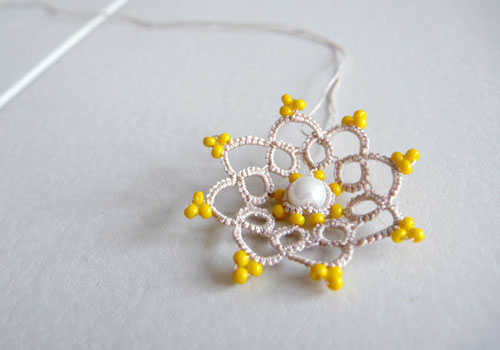
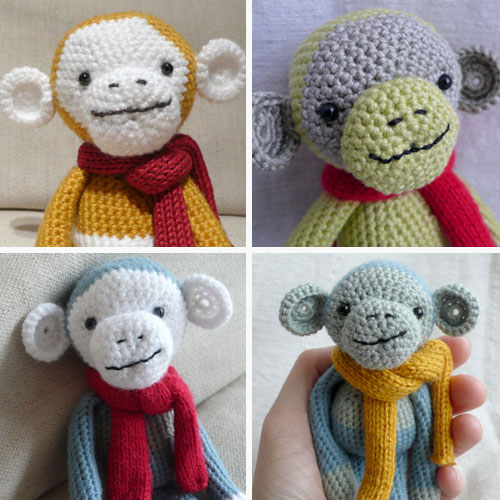
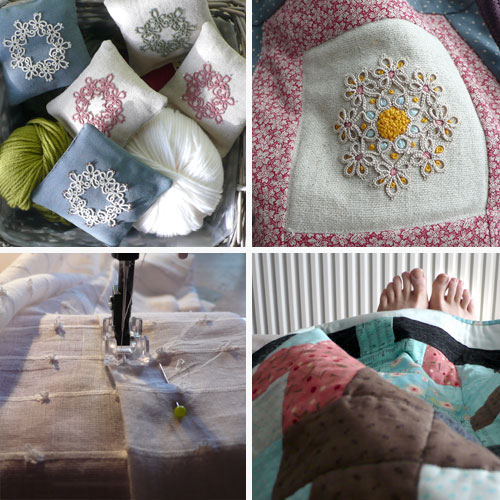
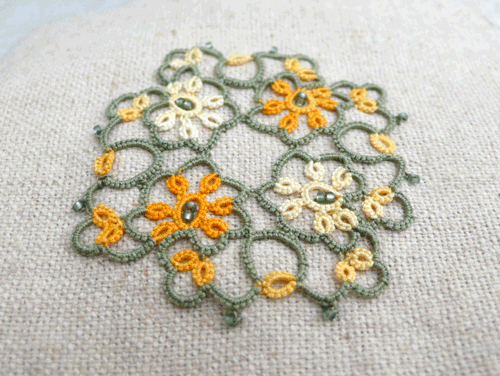
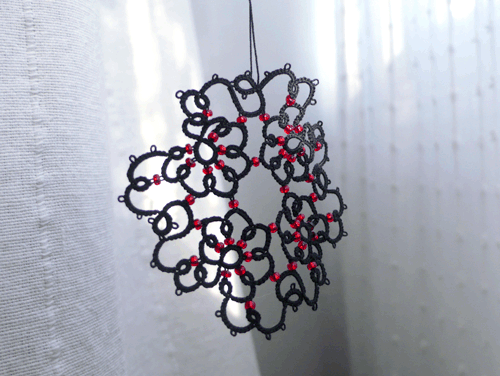
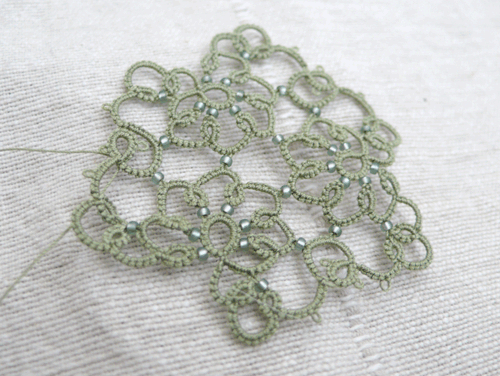
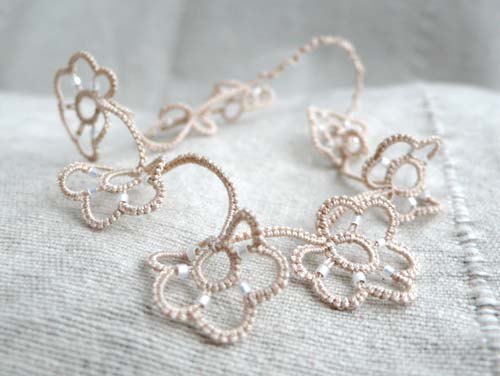
On a more restrained note, I also got a little bit of time to tat the other week. This is a new pattern that I’ve been working on. Not there yet actually, but almost. And on that note, better run. More things to do.
Hope you had a good weekend too.